Making Rings at Home
Overview
In this article, we won’t be exploring a new chainmail weave design. Instead, we’ll delve into a valuable aspect of the chainmail craft – the art of making rings at home. While the world of chainmail has many intricate weaves and stunning patterns, the foundation of any chainmail project lies in the quality and craftsmanship of the rings themselves. Whether you’re an experienced mailler looking to expand the ring sizes available or a novice eager to embark on your chainmail journey, learning how to craft rings from scratch can be invaluable. Join me as I dive into creating rings at home, offering insights, tips, and a step-by-step guide to help you elevate your chainmail projects with rings you’ve crafted with care.
Materials/Tools
When I make rings at home, I use the following tools and materials:
-
Mandrels: I use metal rods to wrap wire around to create coils. The thickness of your mandrel and the thickness of your wire determine the aspect ratio of your rings according to the formula:
Aspect Ratio = Mandrel Diameter / Wire Diameter.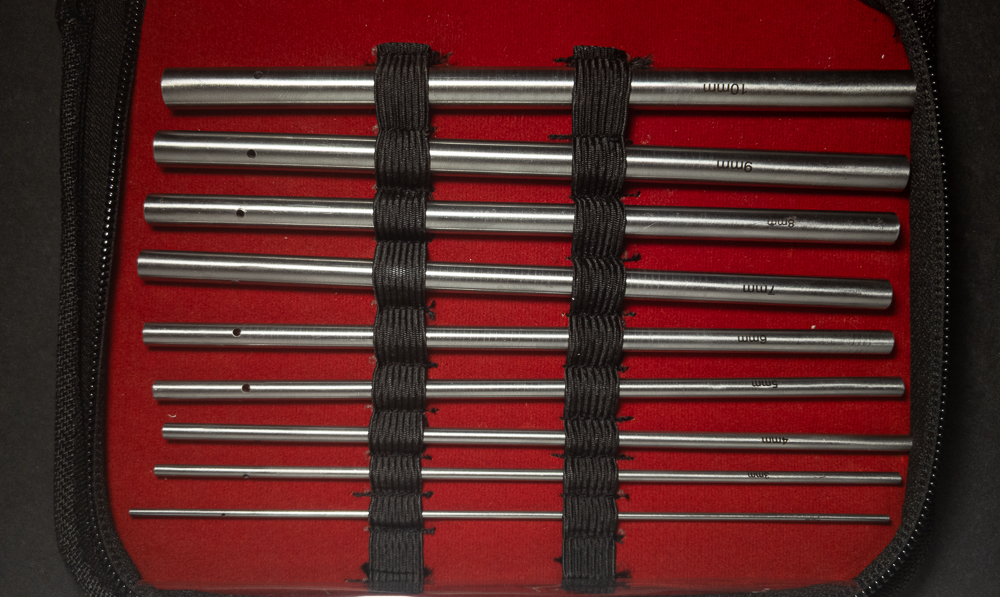
-
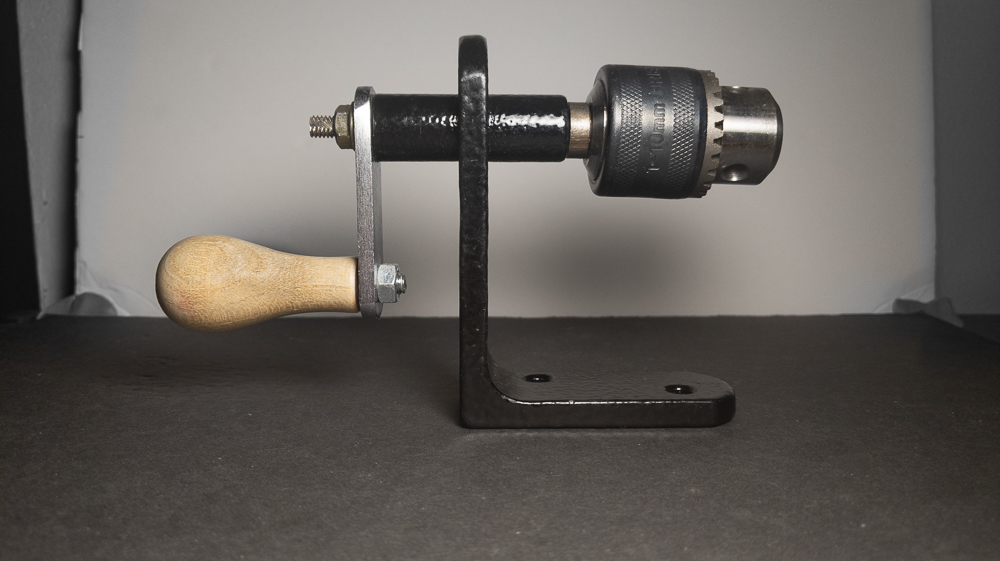
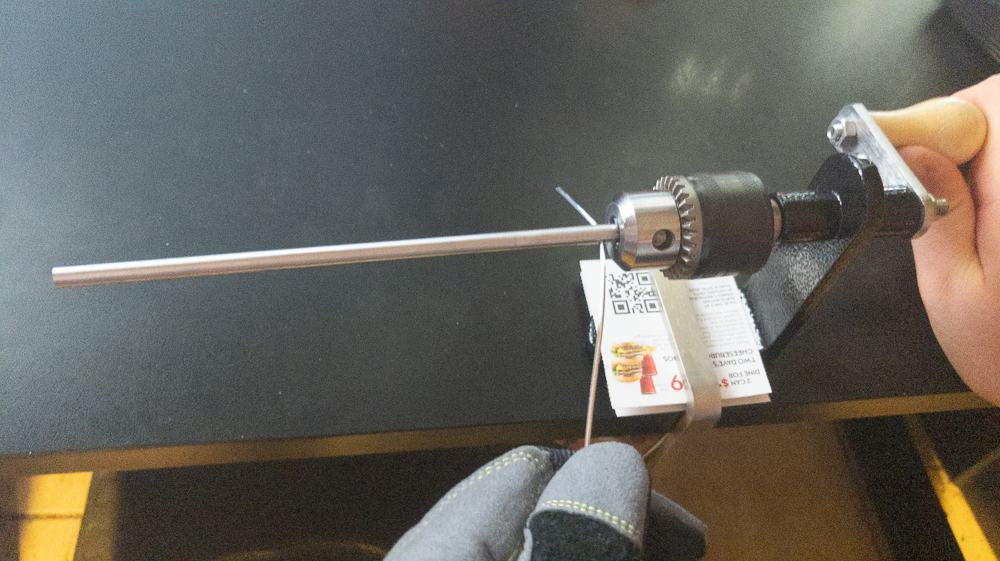
Mandrel Chuck/Rig: I use this to make winding wire onto a mandrel easy.
-
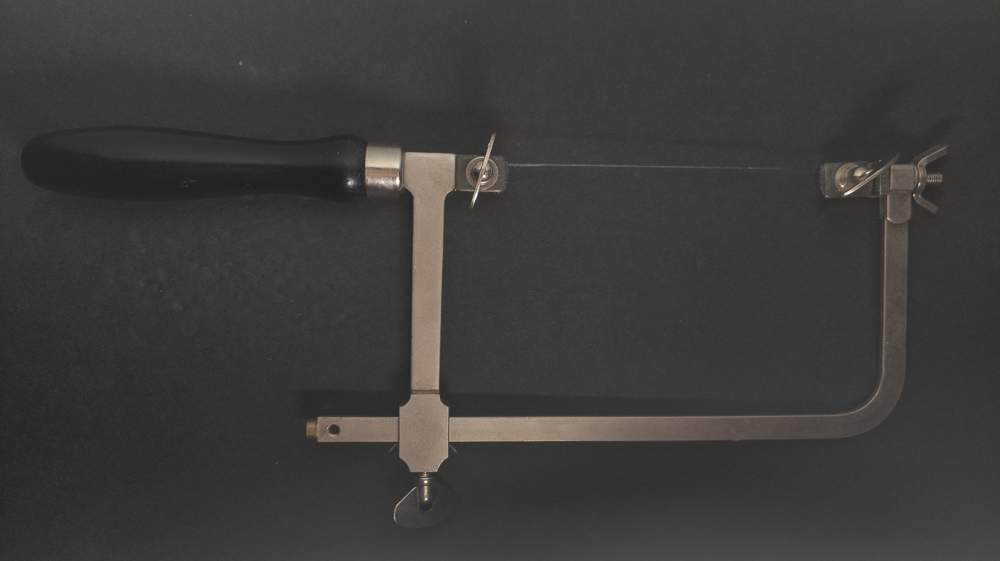
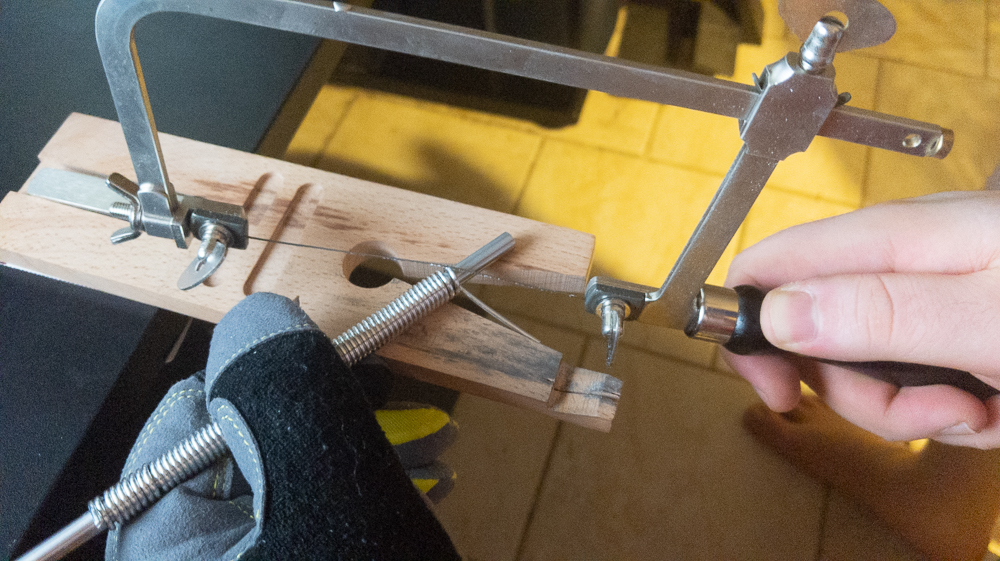
Jewler’s Saw: I use it to cut coils into rings with smooth closures.
-
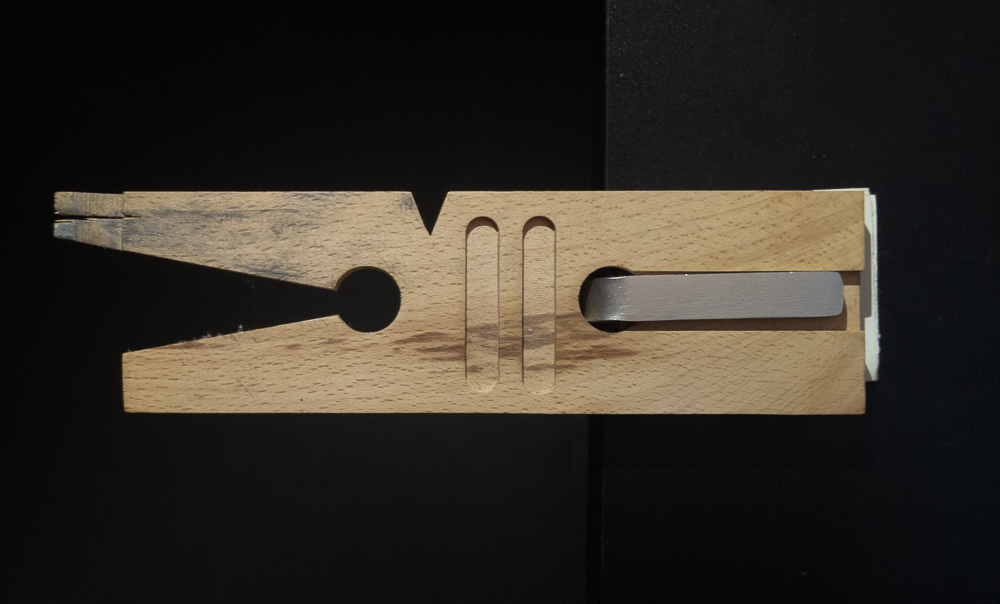
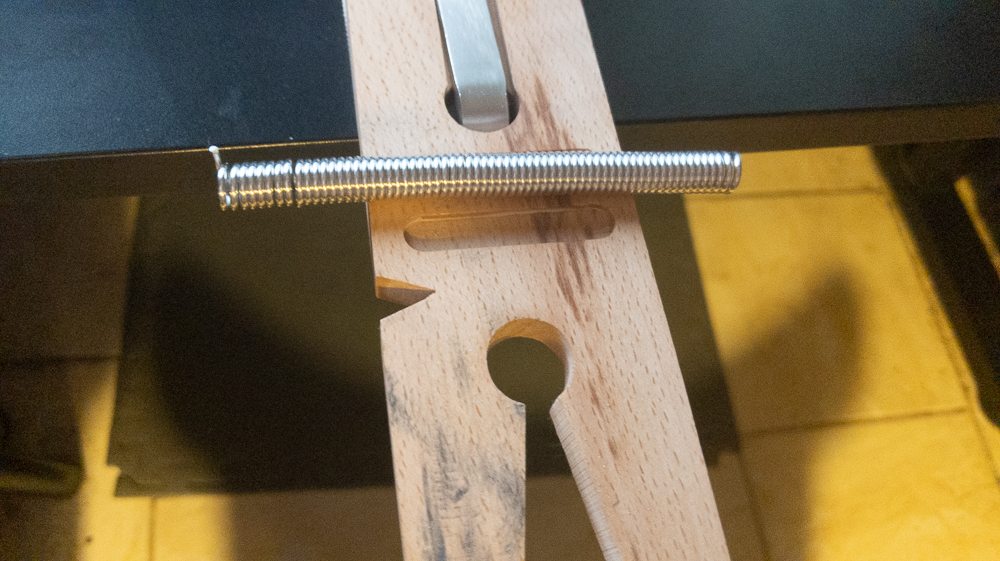
Bench Pin: I use it to help cut the coil into rings easily by allowing for better angles and not worrying about cutting my desk.
- Work Gloves: I use these to keep my hands safe while coiling wire and cutting rings.
- Mask: I wear a mask to avoid breathing in the metal dust generated when I cut wire with my saw.
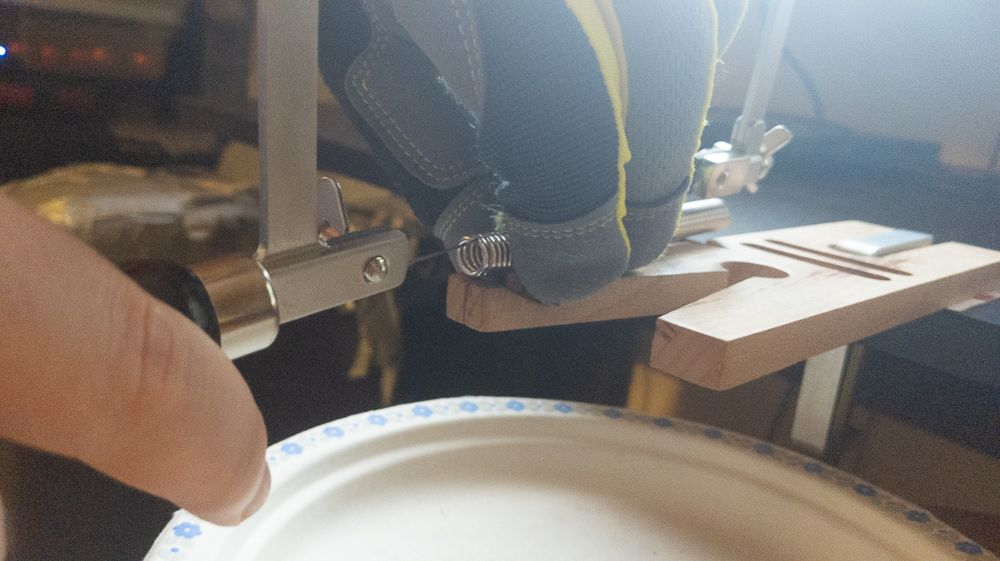
- Paper Plate: I keep one under my bench pin to catch rings coming off the coil.
- Pill Bottle: I use these to store small batches of rings and for manual tumbling.
- Wire: This is what turns into rings.
Process
-
First, get the wire on the mandrel and prepare it for coiling.
-
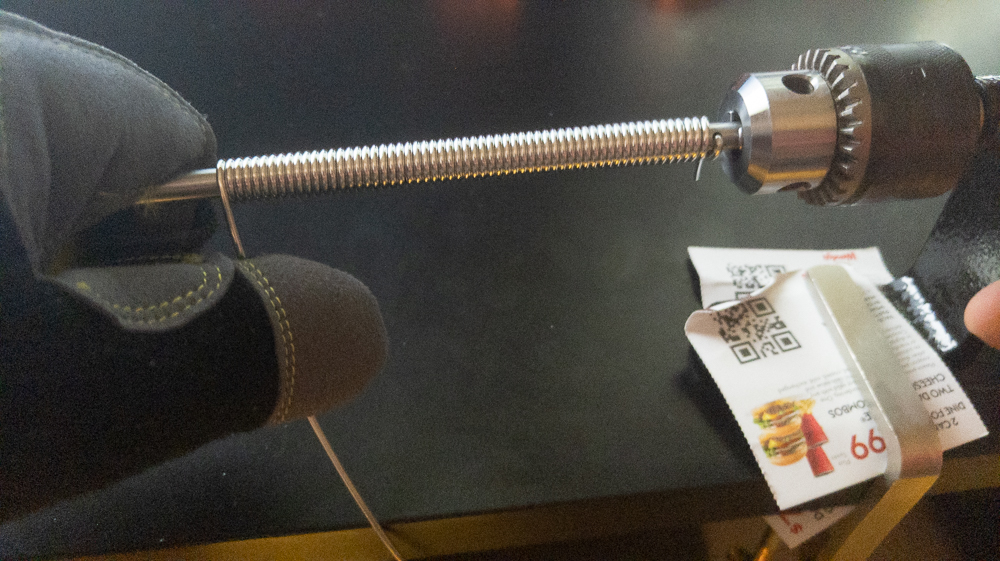
Next, rotate the mandrel to coil.
-
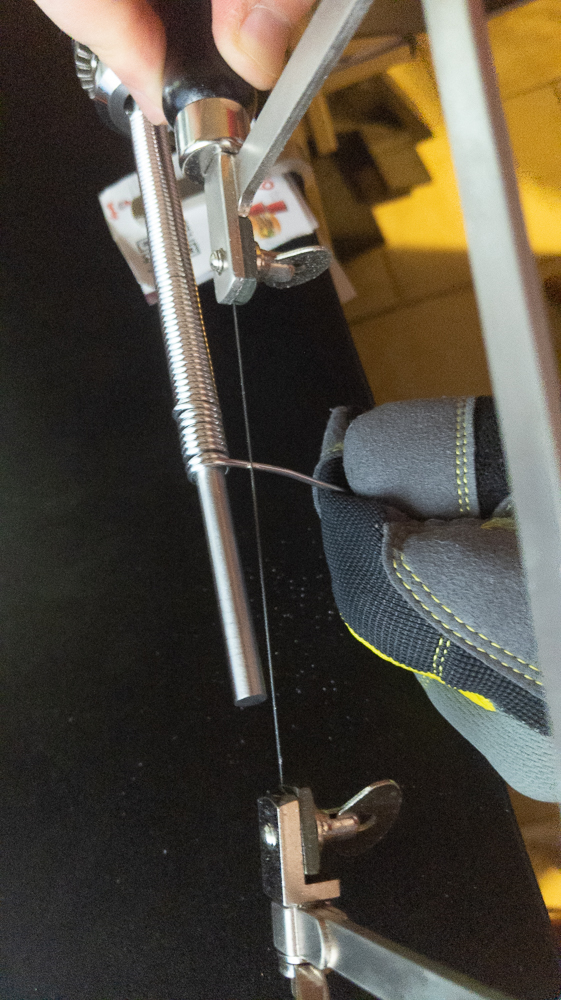
Then, trim the wire off the end of the coil.
-
Now, remove the coil from the mandrel.
Since I used a hole in my mandrel to keep the wire on it, I had to cut that part off.
-
With your coil free, start cutting rings off it.
-
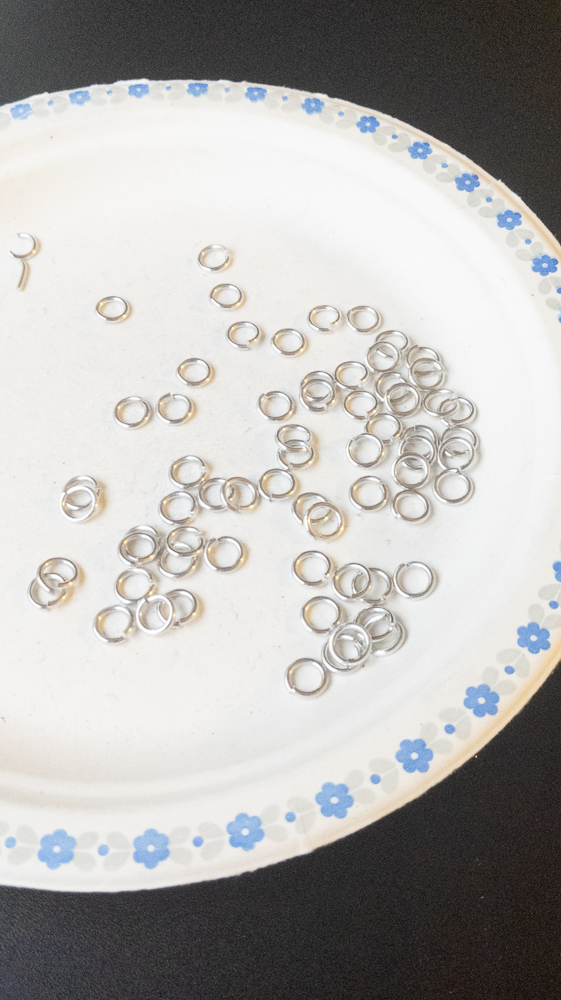
Finally, you have your rings. You can either start using them or tumble them first.
Notes:
These notes provide additional insights and precautions to ensure a safe and efficient ring-making process at home.
- Respiratory Protection:
- Always wear a mask to protect yourself from inhaling metal dust generated when cutting.
- Springback Awareness:
- Be cautious of springback, where wire partially unwinds from the mandrel; it can lead to fast and potentially dangerous wire movement.
- Springback is caused by the wire resisting deformation(coiling).
- Springback also causes the internal diameter of the ring to be larger than the mandrel diameter.
- How much the wire springs back varies with metal stiffness; for example, aluminum has less springback than stainless steel.
- Cutting Techniques:
- Consider using snips/cutters for faster ring cutting, but be aware that this may result in pinched ends rather than a flush cut.
- If using flush cutters, you can double-cut for a flush finish, although this takes more time and removes more material.
- Power tools like a Dremel with a small blade can provide a faster, cleaner cut.
- Ring Characteristics:
- Rings produced through coiling and cutting are helices/coils, not proper torii (donut-shaped), introducing potential twisting/spiral behaviour in larger projects.
- The coil can be directional, either right-leaning or left-leaning, influencing the direction of twisting/spiral behaviour in larger projects.
- Tumbling:
- I highly suggest tumbling your rings to smooth the edges; otherwise, you could accidentally cut yourself on a burr.
- You can use a drum/rotary tumbler or shake rings in a container with some free room.
- Make sure to tumble rings of the same metal together to avoid scratches on softer rings.
- Cutting Considerations:
- Be mindful of the size of the blade used for cutting, as the area of the cut is turned to dust and removed, making the rings slightly shorter than intended.
- Cleanup and Maintenance:
- Clean up thoroughly after the process, as it generates significant amounts of metal dust.
- Consider washing the rings to remove dust.
- Set up a method to catch rings under the cutting area to prevent them from bouncing or rolling away, as they can be challenging to find.